

Products

.svg)

.svg)

This registrar doesn’t offer an email forwarding service
To get started setting up your store on your own domain using our platform, visit our website, www.gearlaunch.com/platform and click on “JOIN US TODAY.”

Click on the “LOGIN” button. Use your Gmail address and password to log in.

Fill out the Gear Launch Seller Registration Form and then click “Submit.”

Accept the GearLaunch Seller Agreement.
Scroll down to the bottom of the page; add your Domain registrar and your Domain then click the “Submit” button.

It usually takes less than 24 hours to receive approval for your store. You’ll be notified by email once it’s approved.

After your store gets approved, you can log in to your GearLaunch account. In your dashboard, click on the green bar that says, “This GearLaunch site is not launched yet! Click here to see your DNS settings page.”

Next, click on the “Check DNS records” button.

Copy the values from here to update your domain registrar with these DNS records and values.

Go to your domain registrar website and log in to your account.
Update your DNS records with the information you got from your GearLaunch dashboard.
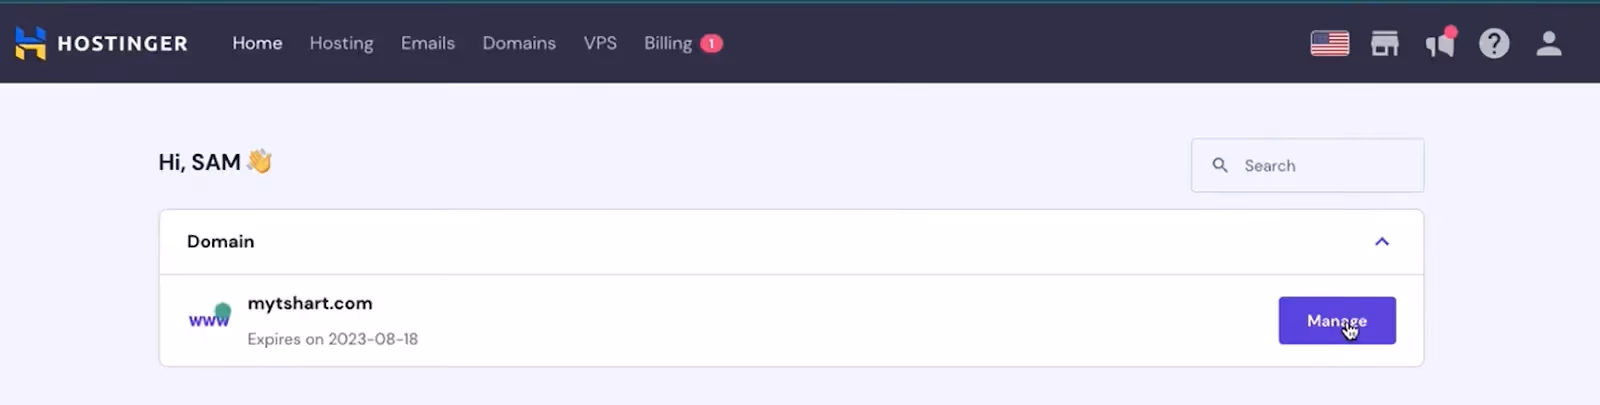
Once you’re set up with your GearLaunch account, log into your registrar account. You will see the list of your domains.
Next You should search your domain name into the Domain list using the the search bar if necessary and later click on the "Manage” button.
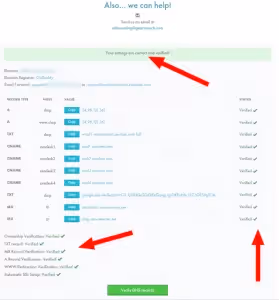
In this section You will see the configurations of your domain for the DNS records.
For the DNS records you should click in the “DNS/Nameservers” option in the left side of the site and add the indicated records in the Gearlaunch website.


Once you’ve configured all your DNS records in your Hostinger account, you’ll need to upgrade to use Office365 to set up your email forwarding. Doing so allows your customers to reach our customer service team directly.
The last step in your account is waiting for the registrar to populate the DNS records update. Once you click on “Verify DNS records” and each setting’s status is “verified”, it means your store is live.
Once the email forwarding is set up and confirmed, your store will begin the SSL certificate signing process, which could take up to 24 hours to be completed. It’s worth the wait for your store to be live and secure.
Video instruction:


.svg)
.svg)
.svg)


